How to Roast Bones for Beef Broth in 7 Simple Steps
To roast bones for beef broth, start by choosing marrow-rich bones like knuckles or oxtails. Roasting bones is a crucial step to develop a rich and flavorful beef broth. Preheat your oven to 425°F (220°C) for even roasting.
Rinse and pat the bones dry, then arrange them on a rimmed baking sheet without crowding. Roast at 400°F (200°C) for 45-60 minutes, turning halfway for deep browning. This process caramelizes the bones and enhances the broth’s depth.
Add aromatics like onions and carrots, roast briefly, then transfer everything to a stockpot. Keep going to discover tips that’ll boost your broth’s flavor even more.
Select the Right Bones for Roasting

Before you begin roasting, choose bones that have plenty of connective tissue and marrow, as these will give your beef broth a rich flavor and gelatinous texture.
Look for beef knuckles, shanks, or oxtails since they’re packed with collagen, which breaks down into that silky mouthfeel you want.
Choose beef knuckles, shanks, or oxtails rich in collagen for a broth with a silky, luxurious texture.
Avoid bones with little marrow or fat because they won’t provide enough depth.
If you can, ask your butcher for a mix of marrow and joint bones to balance taste and richness.
Don’t forget to include some meaty bones or leftover scraps; they add extra flavor.
Finally, avoid pre-packaged bones that seem pale or dry, as fresh bones roast better and develop a deeper, caramelized taste essential for a hearty broth.
Preheat Your Oven to the Ideal Temperature
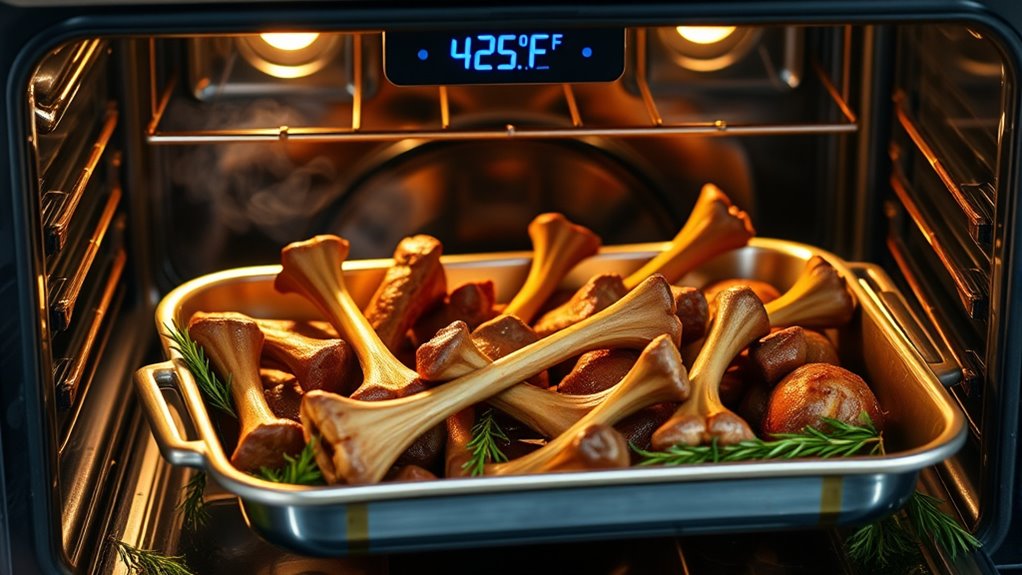
Once you’ve selected the perfect bones, set your oven to 425°F (220°C) to guarantee they roast evenly and develop a deep, rich color. This temperature is ideal because it’s hot enough to brown the bones without burning them, revealing those complex flavors essential for a robust broth.
Avoid starting at lower or higher temperatures, as this can lead to uneven roasting or bitterness.
Here’s how to prepare your oven:
- Turn on the oven and set it precisely to 425°F (220°C).
- Allow the oven to fully preheat before placing the bones inside.
- Position the oven rack in the middle to ensure even heat distribution.
- Avoid opening the oven door frequently to maintain a steady temperature.
This approach sets the stage for perfect roasting every time.
Prepare the Bones for Roasting

Although selecting the right bones is essential, you’ll get the best flavor by prepping them properly before roasting. Start by rinsing the bones under cold water to remove any surface impurities or blood clots. Pat them dry thoroughly with paper towels; moisture will steam the bones instead of roasting them.
If the bones come with large pieces of meat or fat attached, trim excess fat to prevent overly greasy broth. You can also break larger bones into smaller sections with a cleaver or have your butcher do this for you, which helps release more flavor.
Finally, arrange the bones so they’re ready for roasting, but don’t crowd them. Proper airflow ensures even browning and a richer broth.
Arrange the Bones on a Baking Sheet
After prepping your bones, the next step is to arrange them properly on a baking sheet. This guarantees even roasting and maximizes flavor development. Here’s how to do it:
- Choose a large, rimmed baking sheet to hold all the bones without overcrowding.
- Spread the bones out in a single layer, leaving space between each piece for hot air to circulate.
- Position larger bones towards the edges and smaller ones in the center for uniform roasting.
- If you’re using marrow bones, place them cut-side up to allow the marrow to roast evenly.
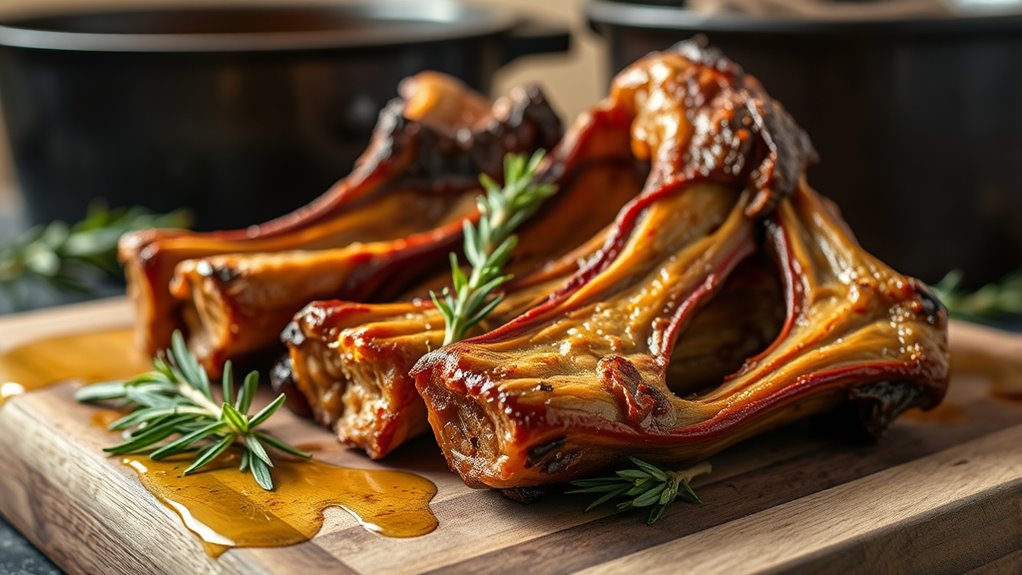
Roast the Bones Until Deeply Browned
Because roasting develops rich, complex flavors, you’ll want to roast the bones until they’re deeply browned.
Roasting intensifies flavor, so aim for deeply browned bones to enhance your broth’s richness.
Place the baking sheet in a preheated oven at 400°F (200°C).
Let the bones roast for about 45 minutes to an hour, turning them halfway through to guarantee even browning.
Keep a close eye on them; you want a rich, caramelized color without burning.
The more browned the bones, the more flavorful your broth will be.
Avoid overcrowding the pan, so heat circulates properly and the bones brown evenly.
Once they achieve a deep brown color and emit a nutty aroma, remove them from the oven.
Now, your bones are perfectly roasted and ready for the next step in making a delicious beef broth.
Add Aromatics and Roast Briefly
Once the bones are deeply browned, add aromatics like onions, carrots, and celery to the roasting pan to enhance the broth’s flavor. These vegetables will caramelize slightly, deepening the taste profile of your beef broth.
Here’s how to do it:
- Roughly chop 1 large onion, 2 carrots, and 2 celery stalks.
- Spread them evenly around the roasted bones in the pan.
- Roast everything together for about 15 minutes at 400°F (200°C).
- Stir occasionally to prevent sticking and encourage even browning.
This step intensifies the broth’s richness by adding natural sweetness and complexity. Just keep an eye on the aromatics so they don’t burn during this brief roasting session.
Transfer Roasted Bones to a Stockpot
When the bones and aromatics have roasted to a rich, golden brown, you’ll want to transfer them carefully to a large stockpot. Use tongs or a slotted spoon to lift the bones, allowing any excess fat or juices to drip back onto the roasting pan.
Don’t forget to scrape the browned bits stuck to the pan; those add incredible flavor. Pour a small amount of hot water or broth into the roasting pan and swirl it to loosen the fond, then pour this liquid into the stockpot as well.
This step captures all the deep, roasted flavors.
Once everything is in the stockpot, you’re ready to add cold water and begin simmering your broth for hours, extracting every bit of richness from the bones.
Frequently Asked Questions
How Long Can Roasted Bones Be Stored Before Making Broth?
You can store roasted bones in the fridge for up to 3 days before making broth.
If you want to keep them longer, freeze them for up to 3 months. Just thaw before using.
Can I Reuse Roasted Bones for Multiple Broth Batches?
You can reuse roasted bones for up to two broth batches, but the flavor and nutrients drop by about 50% after the first use.
What Is the Nutritional Benefit of Roasting Bones?
Roasting bones enhances flavor and helps release minerals like calcium and phosphorus. You’ll get a richer, more nutritious broth with collagen and amino acids that support your joints, skin, and overall health.
Are There Any Bones to Avoid for Broth?
Think of your broth as a symphony. Some instruments don’t quite fit. Avoid pork or poultry bones if you want pure beef flavor.
Also, skip overly fatty bones. They can make your broth greasy and heavy.
Can I Roast Bones in a Slow Cooker Instead of an Oven?
You can’t really roast bones in a slow cooker since roasting requires high, dry heat to brown them. Instead, roast bones in your oven first, then transfer to the slow cooker for simmering your broth.
Conclusion
Now that you’ve roasted your bones to a rich, deep brown, you’re well on your way to making a flavorful beef broth. Think of this process like crafting a masterpiece—each step adds depth and character. Just like a painter layers colors to bring a canvas to life, roasting your bones reveals rich, savory notes that will transform your broth.
Keep these steps in mind, and your broth will always be deliciously satisfying. Roasting bones for beef broth is key to unlocking the full flavor potential. With a few simple steps, you can create a rich, hearty broth that enhances any recipe.