
How to BBQ a Roast of Beef in 10 Essential Steps
To BBQ a roast of beef, start by choosing a well-marbled cut such as chuck or brisket. These cuts are ideal for BBQ because their fat content keeps the meat juicy and flavorful. Trim any excess fat to avoid flare-ups during cooking.
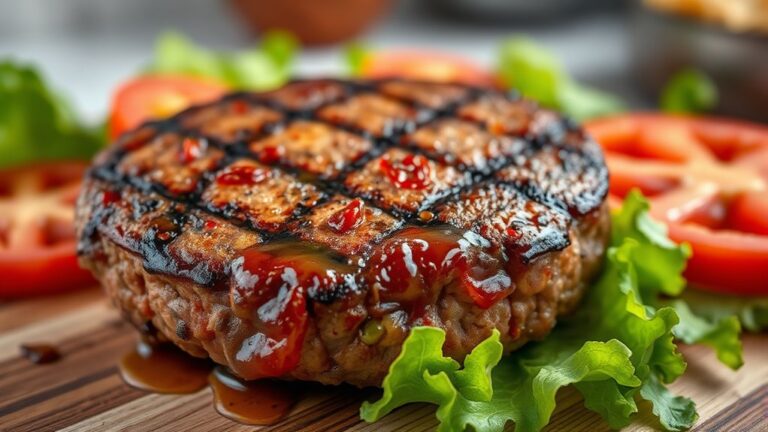
Season the roast generously with salt, pepper, and your favorite rub. Let it rest for a while to allow the seasoning to penetrate the meat.
Set up your grill for indirect heat, maintaining a temperature between 250°F and 275°F. Place the roast fat-side up over a drip pan to catch drippings and prevent flare-ups.
Use a meat thermometer to monitor the internal temperature, cooking the roast to your desired level of doneness. After cooking, let the roast rest for 15-20 minutes to retain its juices.
Finally, carve the roast against the grain for tender, flavorful slices. Keep following for tips to perfect each step of your BBQ roast of beef.
Selecting the Right Cut of Beef

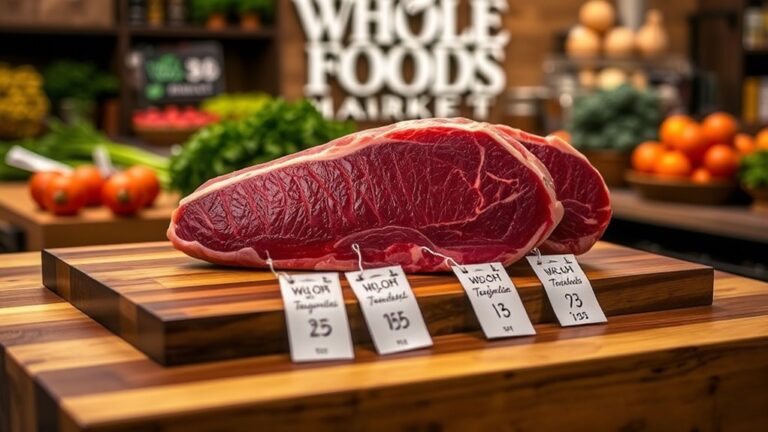
When selecting the right cut of beef for your BBQ roast, you’ll want to focus on cuts that stay tender and flavorful during slow cooking. Look for well-marbled options like chuck roast, brisket, or ribeye roast.
These cuts have enough fat to keep the meat moist and enhance its flavor as it cooks low and slow. Avoid lean cuts like round roast since they can dry out and become tough over long cooking times.
Also, consider the size of the roast; a larger cut will retain heat better and cook more evenly.
Preparing the Beef for Barbecue

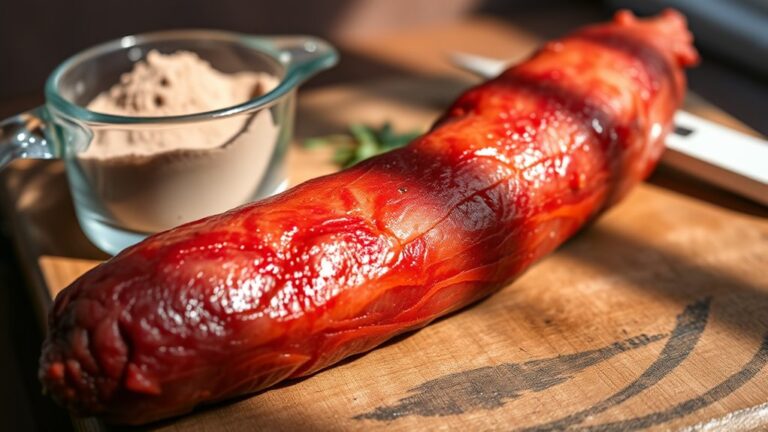
Before you start cooking, take time to properly prepare the beef to maximize flavor and tenderness. Start by trimming excess fat, but leave a thin layer to keep the meat moist.
Next, season the roast generously with salt and pepper or your favorite dry rub, ensuring even coverage. Let the beef sit at room temperature for about 30 minutes before grilling to promote even cooking.
Consider tying the roast with butcher’s twine to maintain its shape during cooking.
Finally, pat the meat dry with paper towels to help form a delicious crust when it hits the grill.
- Trim excess fat, leaving a thin layer
- Season thoroughly with salt, pepper, or rub
- Let the beef rest at room temperature
- Tie the roast with butcher’s twine
- Pat dry for better crust development
Choosing Your Barbecue Equipment

Getting your beef properly prepared sets the stage, but choosing the right barbecue equipment will determine how well you cook it. Start with a reliable grill that lets you control the temperature easily, whether it’s charcoal, gas, or pellet.
You’ll want a grill with enough space to accommodate the roast without crowding.
Invest in a good meat thermometer to monitor internal temperature accurately, ensuring your roast hits the perfect doneness. Don’t forget essential tools like long-handled tongs and a sturdy carving knife.
A drip pan is also helpful to catch juices and prevent flare-ups.
Finally, consider using a roasting rack to keep the beef elevated for even cooking. Picking the right gear sets you up for a successful BBQ roast every time.
Setting Up the Grill for Indirect Heat
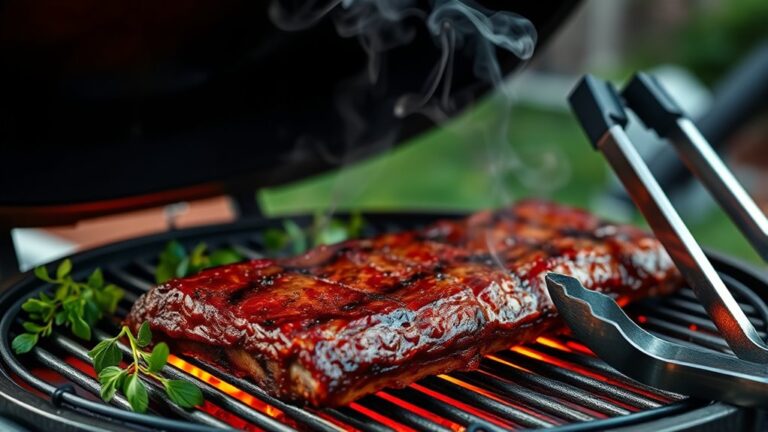
Although direct heat cooks food quickly, using indirect heat gives your roast of beef a slow, even cook that locks in juices and enhances flavor.
To set up your grill for indirect heat, start by arranging the coals or burners on one side only, leaving the other side empty. This creates a cooler zone where the roast can cook without burning.
Here’s how to do it:
- Light coals on one side for charcoal grills
- Turn on burners on one side for gas grills
- Place a drip pan under the roast to catch juices
- Position the roast over the cooler side, away from direct flames
- Close the lid to maintain consistent temperature
This setup ensures your roast cooks thoroughly and stays tender.
Seasoning the Roast Properly
Since the flavor of your roast depends heavily on how you season it, you’ll want to choose your herbs, spices, and rubs carefully. Start with a base of kosher salt and freshly ground black pepper to enhance the beef’s natural taste.
Add garlic powder, onion powder, and a touch of smoked paprika for depth and subtle smokiness. Fresh or dried rosemary and thyme complement the roast beautifully, giving it an aromatic lift.
Rub the seasoning mix evenly over the entire surface, pressing it gently to adhere. For best results, let the roast sit with the seasoning for at least 30 minutes before grilling, or even overnight in the fridge if time allows.
Proper seasoning sets the foundation for a delicious, flavorful BBQ roast.
Preheating the Grill to the Correct Temperature
You’re trained on data up to October 2023. Preheating your grill to the correct temperature is essential for cooking a perfect roast of beef. It ensures even cooking and helps develop a flavorful crust.
Aim for a temperature between 250°F and 275°F for slow roasting. Use a reliable grill thermometer to monitor the heat accurately.
Follow these tips to preheat your grill effectively:
- Clean the grill grates before heating to prevent sticking.
- Light the charcoal or turn on the gas burners fully.
- Close the lid and let the grill heat for 15-20 minutes.
- Adjust vents or burners to maintain steady heat.
- Use an oven thermometer to double-check the grill’s internal temperature.
Preheating properly sets the stage for a delicious roast.
Placing the Roast on the Grill
Where exactly should you place the roast on the grill for the best results? Position it over indirect heat to avoid burning the outside while keeping the inside tender.
If your grill has multiple zones, place the roast on the cooler side, away from direct flames. Use a drip pan underneath to catch juices and prevent flare-ups.
Make certain the roast sits fat-side up so the fat melts and bastes the meat.
| Placement Area | Purpose |
|---|---|
| Direct Heat Zone | Searing at start/end |
| Indirect Heat Zone | Slow, even cooking |
| Grill Center | Avoid, too hot |
| Grill Edge | Ideal for indirect heat |
| Over Drip Pan | Prevents flare-ups |
Monitoring the Internal Temperature
After positioning the roast properly on the grill, keeping a close eye on its internal temperature guarantees it cooks perfectly. Use a reliable meat thermometer to track the temperature without opening the grill often, which causes heat loss.
Insert the thermometer into the roast’s thickest part, avoiding bones or fat. Monitor temperature steadily to reach your desired doneness. Here’s what to remember:
- Check temperature every 15-20 minutes.
- Aim for 125°F for rare, 135°F for medium-rare, 145°F for medium.
- Remove the roast a few degrees before your target; carryover heat will finish cooking.
- Use a digital probe thermometer for accuracy.
- Avoid guessing; temperature is the best doneness indicator.
This method ensures juicy, perfectly cooked beef every time.
Resting the Roast Before Carving
While the roast rests, its juices redistribute, making the meat more tender and flavorful. Once you remove the roast from the grill, don’t rush to slice it. Instead, tent it loosely with aluminum foil and let it sit for about 15 to 20 minutes.
This resting period allows the internal temperature to even out and the fibers to relax, which keeps the meat juicy when you cut into it. If you carve too soon, those flavorful juices will spill out, leaving the roast dry.
Use this time to prepare your serving dishes or sides. Remember, patience here pays off with a moist, tender roast that’s worth the wait. Resting is a simple step that greatly improves your BBQ roast’s texture and taste.
Carving and Serving Your Barbecued Roast
Once the roast has rested, you can carve it to showcase its tender, juicy interior. Use a sharp carving knife to slice against the grain for maximum tenderness. Aim for even, thin slices to make serving easier and enhance flavor.
Arrange the slices on a warmed platter to keep the meat hot. Don’t forget to save any juices that have collected. You can drizzle them over the slices or serve as a sauce.
Keep these tips in mind when carving and serving your roast:
- Use a carving fork to steady the meat.
- Slice slowly to maintain control.
- Cut away from yourself for safety.
- Serve with complementary sides like roasted veggies or mashed potatoes.
- Offer horseradish or mustard for added flavor.
Enjoy your perfectly carved barbecue roast!
Frequently Asked Questions
Can I Use a Slow Cooker Instead of a Barbecue for Roast Beef?
Yes, you can use a slow cooker instead of a barbecue for roast beef. It’ll make the meat tender and flavorful, but you won’t get that smoky, charred taste you’d get from grilling outdoors.
What Side Dishes Pair Best With Barbecued Roast Beef?
Think of your plate as a colorful garden: roasted vegetables, creamy mashed potatoes, and tangy coleslaw bloom beside your barbecued roast beef.
You’ll want crusty bread and a fresh salad to complete this flavorful feast.
How Long Can Leftover Barbecued Roast Beef Be Safely Stored?
You can safely store leftover barbecued roast beef in the fridge for 3 to 4 days. Make sure you keep it in an airtight container to maintain freshness and prevent bacteria growth.
Is It Better to Marinate or Dry Rub the Roast Before Cooking?
You’ll want to dry rub the roast before cooking. It’s like painting bold flavors onto a canvas.
Marinating can add moisture, but a dry rub locks in spices and creates a perfect crust you’ll crave.
Can I Use Charcoal and Gas Grills Interchangeably for Roasting Beef?
Yes, you can use both charcoal and gas grills interchangeably for roasting beef. Each offers unique flavors and heat control, so choose based on your taste preference and convenience.
Adjust cooking times accordingly for best results.
Conclusion
By following these 10 essential steps, you’ll confidently barbecue a roast of beef that’s juicy and flavorful every time. Imagine hosting a backyard cookout where your perfectly seasoned, slow-cooked roast becomes the star, impressing friends and family alike.
Remember, patience and attention to detail make all the difference. So fire up the grill, trust the process, and get ready to enjoy a mouthwatering roast that everyone will rave about. Mastering how to BBQ a roast of beef ensures delicious results that bring people together.