

How to Use Beef Bones for Soup in 3 Simple Steps
Start by choosing fresh marrow or knuckle beef bones for soup and roasting them at 400°F for about 30 minutes to boost flavor. This essential step enhances the richness and depth of your broth, making it a perfect base for hearty soups.
Next, place the roasted bones in a pot and cover them with cold water. Add aromatics like onions and herbs, then simmer gently for at least 6 hours, skimming impurities as needed to keep the broth clear and clean.
Finally, strain the broth through a fine mesh to get a clear, flavorful soup base you can use right away. Keep going to uncover tips for maximizing nutrition and taste.
Selecting and Preparing Your Beef Bones
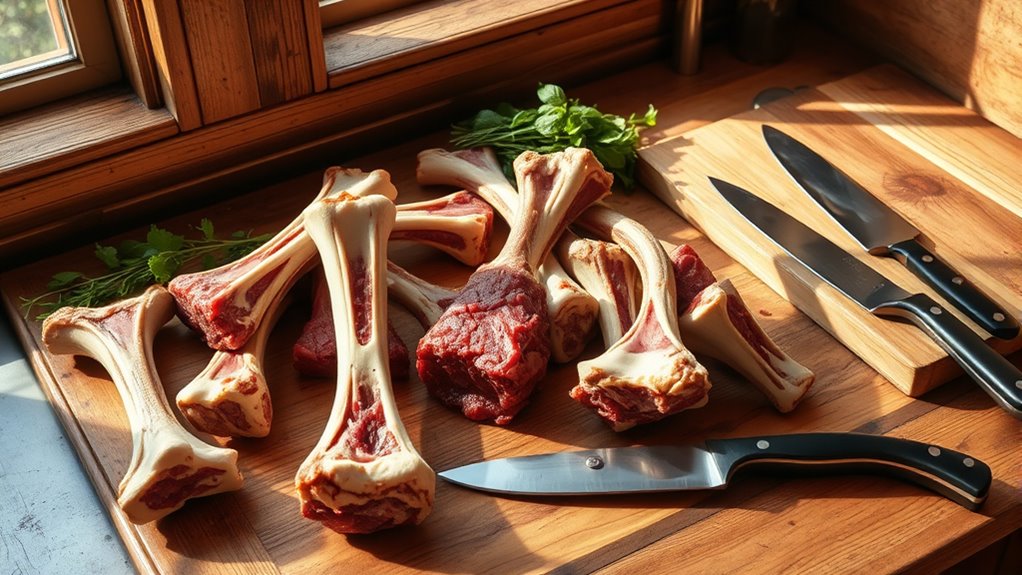
Before you begin making your soup, it’s important to select the right beef bones to guarantee a rich and flavorful broth. Choose bones with a good mix of marrow, connective tissue, and a bit of meat.
Marrow bones, knuckles, and oxtails work well for this. You’ll want to avoid bones that are overly fatty or old, as they can create a greasy or off-tasting broth.
Use marrow bones, knuckles, or oxtails; avoid overly fatty or old bones to prevent greasy broth.
Once you have your bones, rinse them under cold water to remove any bone fragments or impurities.
For an even better flavor, roast the bones in the oven at 400°F for about 30-40 minutes until browned. This step enhances the depth and color of your broth.
After roasting, you’re ready to move on to simmering and flavoring.
Simmering and Flavoring the Broth
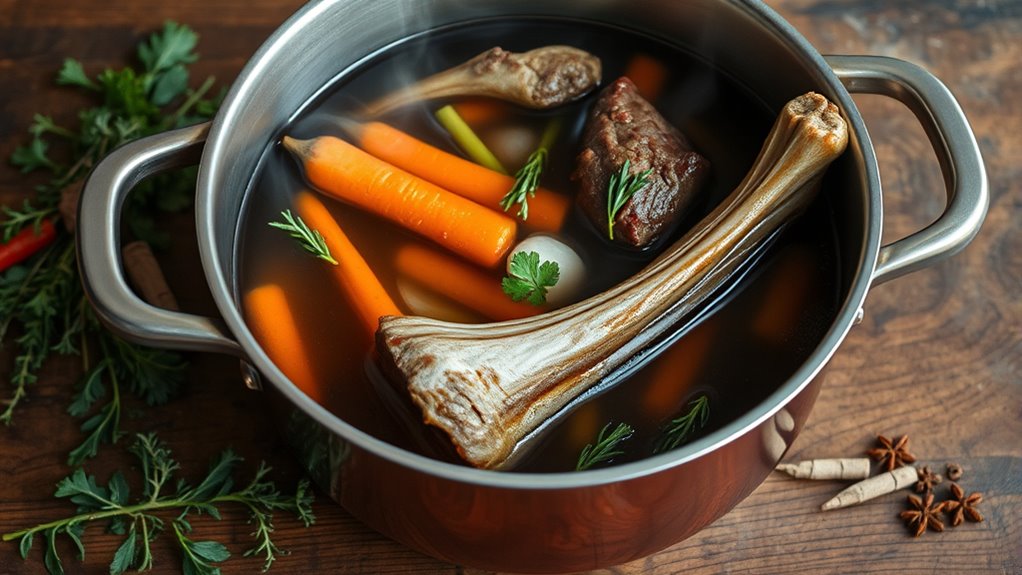
Once you’ve roasted your beef bones, place them in a large pot and cover with cold water to start the simmering process. Bring the water to a gentle simmer. Avoid boiling, which can cloud the broth.
As it simmers, skim off any foam or impurities for a clearer flavor.
To enhance the broth’s depth, add aromatics like onions, carrots, and celery for natural sweetness and complexity.
Add herbs such as thyme, bay leaves, and parsley for earthy and fresh notes.
Include a splash of vinegar to help extract minerals from the bones, boosting nutrition and richness.
Let the broth simmer gently for at least 6 hours, occasionally checking the water level and adding more if needed. This slow cooking draws out maximum flavor and nutrients.
Straining and Using the Finished Soup Base
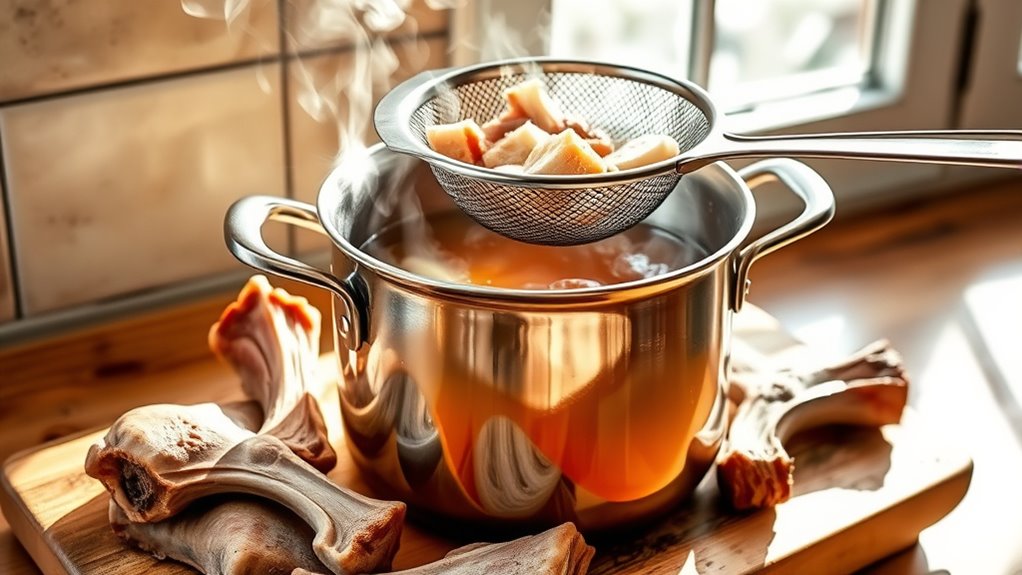
Although simmering extracts all the flavors and nutrients, you’ll need to strain the broth carefully to remove the bones and vegetables, leaving a clear, flavorful soup base ready for use. Use a fine mesh strainer or cheesecloth for best results.
Pour the broth slowly to avoid breaking up solids. Once strained, taste and adjust seasoning before storing or using immediately.
Here’s how your effort translates into experience:
| What You Get | What You Feel |
|---|---|
| Rich, clear broth | Satisfaction |
| Deep, layered taste | Warmth |
| Nutritious base | Nourishment |
| Versatile foundation | Creativity |
This simple step transforms your broth into a comforting, nourishing base perfect for any soup or stew you crave.
Frequently Asked Questions
Can I Freeze Beef Bone Broth for Later Use?
Yes, you can freeze beef bone broth for later use. Just cool it completely, pour into airtight containers or freezer bags, label with the date, and freeze.
It’ll keep its flavor and nutrients for months.
How Long Does Homemade Bone Broth Last in the Fridge?
Your homemade bone broth lasts about 4 to 5 days in the fridge, smelling fresh, looking clear, and tasting rich. Keep it covered tightly, check for off smells, and reheat thoroughly before enjoying your nourishing soup.
Are Marrow Bones Better Than Knuckle Bones for Soup?
Marrow bones add rich flavor and creamy texture, while knuckle bones offer more collagen for a thicker broth. You’ll get a better soup by combining both to balance taste, texture, and nutrition perfectly.
Can I Use Beef Bones From the Grocery Store?
Yes, you can use beef bones from the grocery store. Just choose fresh, high-quality bones, preferably with some marrow or joints, and roast them for richer flavor before simmering to make a delicious, nutritious soup base.
Is It Necessary to Roast Bones Before Making Broth?
Roasting bones before broth is the secret sauce; it’s not necessary, but it deepens flavor and adds richness.
If you want a lighter broth, skip it, but roasting gives your soup a golden touch.
Conclusion
Using beef bones for soup not only boosts flavor but also packs nutrients—did you know bone broth contains up to 10 times more gelatin than regular stock?
By selecting quality bones, simmering them slowly, and straining carefully, you create a rich, nourishing base perfect for any recipe.
Give these simple steps a try, and you’ll enjoy a delicious, homemade broth that supports your health and satisfies your taste buds. Using beef bones for soup is an easy and effective way to enhance your meals while reaping the benefits of bone broth nutrition.